This site uses cookies. I don’t know why it doesn’t seem to give the pop-up warning, but I got a message that the burden of responsibility is apparently shifted to the people posting our blogs. So, if you don’t want cookies from a free blog website, navigate away now.
The Anglo Saxon lyre has enjoyed a remarkable renaissance in the last couple of decades. I first saw a photo of a reproduction lyre for the Sutton Hoo museum around the year 2000, give or take a few years. At that time, I was not aware of anyone making them for sale. I made my own. It was a great example of ignorance at work, but it made sounds, so I was ready to try again. And I did. Several times.
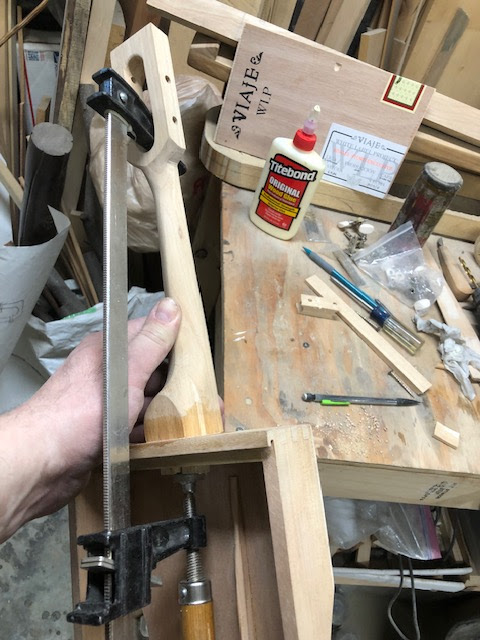
Here's my latest, tuned in D, rather than my usual G:
The problem with having an ancient instrument that nobody plays is that there’s nobody to teach you how to play it! And I was not really able to make up a method on my own. So, I borrowed from another instrument of limited range. The Finnish kantele. The old style kantele has 5 strings, each with its own pitch. If you want to see just how much music can be created with 5 notes, check out the videos posted by Arja Kastinen. She’s amazing.
Gerry Henkel, who makes kantele in the US, has a simple guide to playing on his website and that’s what got me started with figuring out the lyre. I focused on the skills of playing chords, especially to accompany singing.
There’s one book I’m aware of about playing the 6 string lyre. And that book suggests using one with 7 strings (not historical, but I totally see why a modern player might want more options). That book starts with the idea that the instrument will mostly be used to play melodies, not chords to accompany a vocalist. I take a different approach, in which I think the chords are the simplest place to start and the melodies can come later.
Since there is no information available on how these lyres were strung and only a little on how they were tuned, most of this is guesswork and ignorance. Feel free to disagree with what I have to say and just do your own thing. No big ego going on here, just sharing a few things I’ve figured out.
I used to teach a class in the SCA on playing the Anglo Saxon lyre. I taught how to tune it, how to hold it, how to form 3 chords and change between them, and how to sing along with the lyre. We sang Skip To My Lou, Clementine, and The Fox. In one hour, I took people who had never played an instrument before and had them able to change chords and sing lyrics. I am not some amazingly gifted teacher, I just have a very simple approach to the lyre. If you want to learn to play it, this is not a bad way to start.
Assumptions:
The big hand hole in a lyre is there because the left hand has some reason to access all the strings. It would actually be simpler to make a flat board with a resonating cavity and no hand hole. The only reason to do the work of making the hole is because that’s important to how the instrument is played. (A fair number of people seem to use the left hand only to keep the instrument upright, while the right hand does all the plucking of strings. It is a lot of work to make the hole, to smooth it up, and generally make the lyre a nice thing to hold with a hand hole in it.)
The lyre will be used most often as a vocal accompaniment. There’s no proof of this in a historical context. I simply assume it for the purposes of my own approach to playing. Essentially like using chords on a guitar, rather than playing every note of a melody.
There is some artifactual evidence of the use of a wrist strap for the left hand, especially from the find at Taplow. I don’t know how common it was in the 5-10th centuries, but I also understand that Greek lyre players sometimes make use of a wrist strap, both in iconography and in modern reconstructed playing. I find it really useful for just keeping my hand in position and controlling the lyre while I play. Choose for yourself whether to use one or not. I just wanted to explain what’s going on with the photos.
I further assume that you’ll tune your lyre just like mine.
Tuning:
The kantele is tuned with the lowest string furthest from the player. The modern harp is tuned with the lowest string furthest from the player. The lyre is not a harp by modern definition, but was called a harp in the writings of the time it was in use, so I follow the configuration of both the harp and kantele.
I tune my smaller lyres to the first six notes of a G scale. Facing the instrument, I start with the lowest to the right and highest to the left, so you’d read it as EDCBAG.

The modern guitar has the low to high relationship reversed from the harp. And, please remember, a guitar is meant to make many notes on each string, while a lyre or harp makes one note for each string. I believe the guitar is the reason so many modern players like the lowest string closest. If you prefer it this way, reverse everything I do from here forward and you’ll be fine.
Here’s a simple video of tuning:
Chords:
The left hand is placed in the opening of the lyre and can touch the strings. When gently touching a string, that string is unable to sound its note. This means that making chords is a matter of touching whatever strings I don’t want to sound and then strumming all the strings. The notes that ring out audibly are the ones I’m not touching. Make sense? I hope so.
The left hand is through the strap, as you can see, and can easily access the strings from behind. The following video shows how I hold it.
And here’s a video of making major chords:
A video about minor chords:
And some diagrams to show the chords in pictorial format:


.jpg)


.jpg)


